HD Patina Removal Tip

Proper user technique and care is essential to enjoying these high performance knives to their fullest while keeping edge damage to a minimum. Learn how here.
salemj
Posts: 3723
Joined: Thu Jan 26, 2017 9:27 pm
Location: British Columbia, Canada
Has thanked: 213 times
Been thanked: 551 times

HD Patina Removal Tip

Post by salemj »

I had a bad experience using Bar Keeper's Friend on my HDs recently: my mix was too concentrated and I left it on too long (although still only 1-3 minutes).

The result was that my blades looked even worse afterward and - in confirmation of so much we discuss on the forum - they started to cut poorly! The "micro-etching" of the solvent was enough that the steel started to "stick" more in food on the blade side, as you often experience with some "normal" patinas on iron from time to time. Today, in cutting a cantaloupe with my all-time favorite cantaloupe knife (my 210 Wa HD), I ran out of patience: rather than effortlessly gliding through the flesh, I could feel the drag on the steel—it had nothing to do with sharpness, and everything to do with an HD patina.

Well, I've tried touching up my HDs before using various methods, but none have worked exceptionally well. This time, I went all-out with one blade first, and the results were so good I treated all three. Here's what I did, using SANDPAPER:

600 grit with water, about 2 minutes per side.
1000 grit dry, about 2 minutes per side.
2000 grit dry, about 2 minutes per side.

In less than a half hour, my HDs look better than they have in several years! And, if anything, the finish essentially looks factory, not "sandpapered."

Just wanted to share the simplicity and excitement.

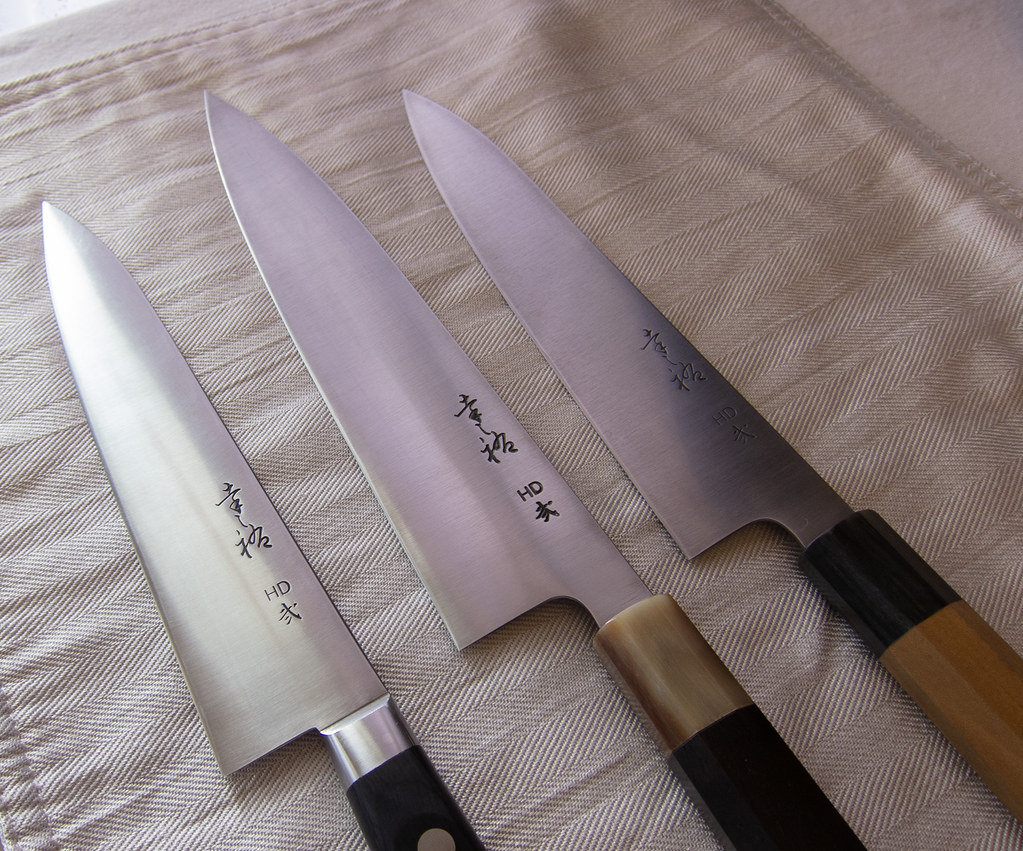
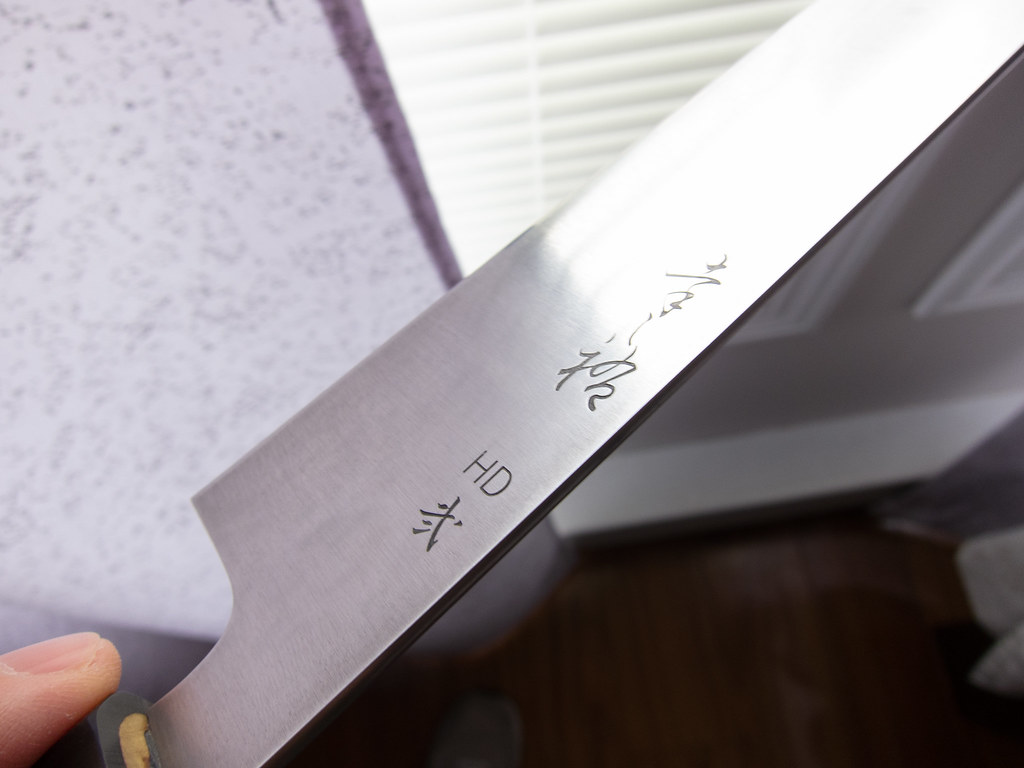
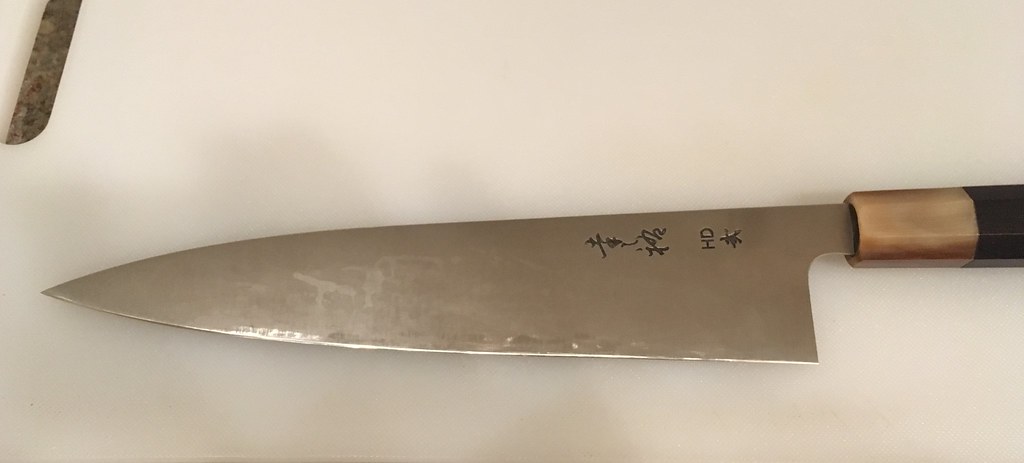
240 HD (bad picture, but accentuates high-grit thinning experiment marks as well as 6-year old citrus stain which looks like a water stain):
Image

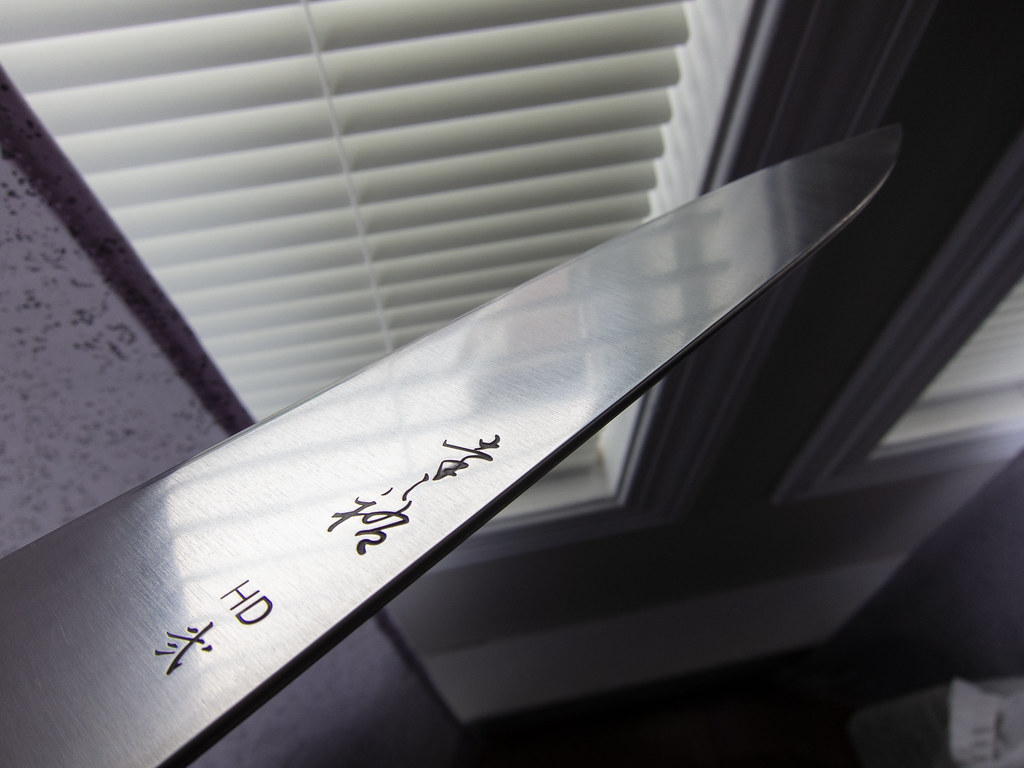
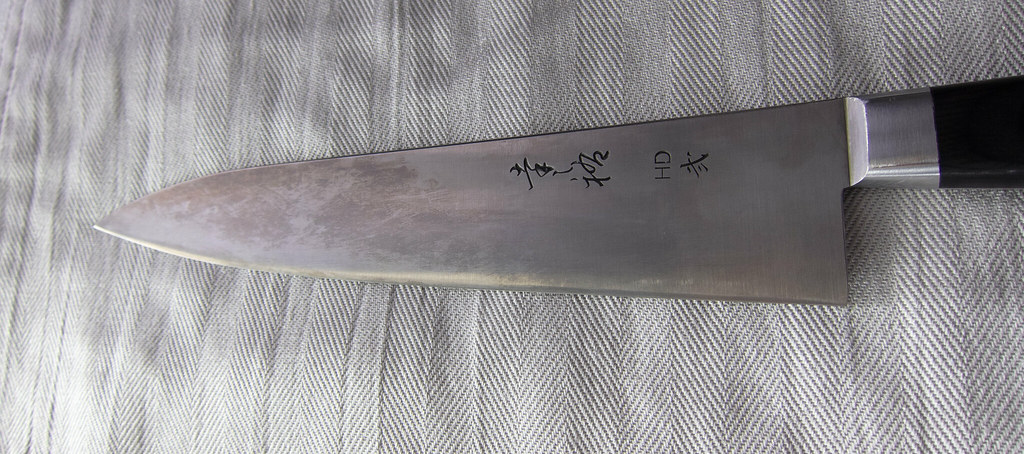
210 HD picture with BKF effects accentuated by some use of meats:
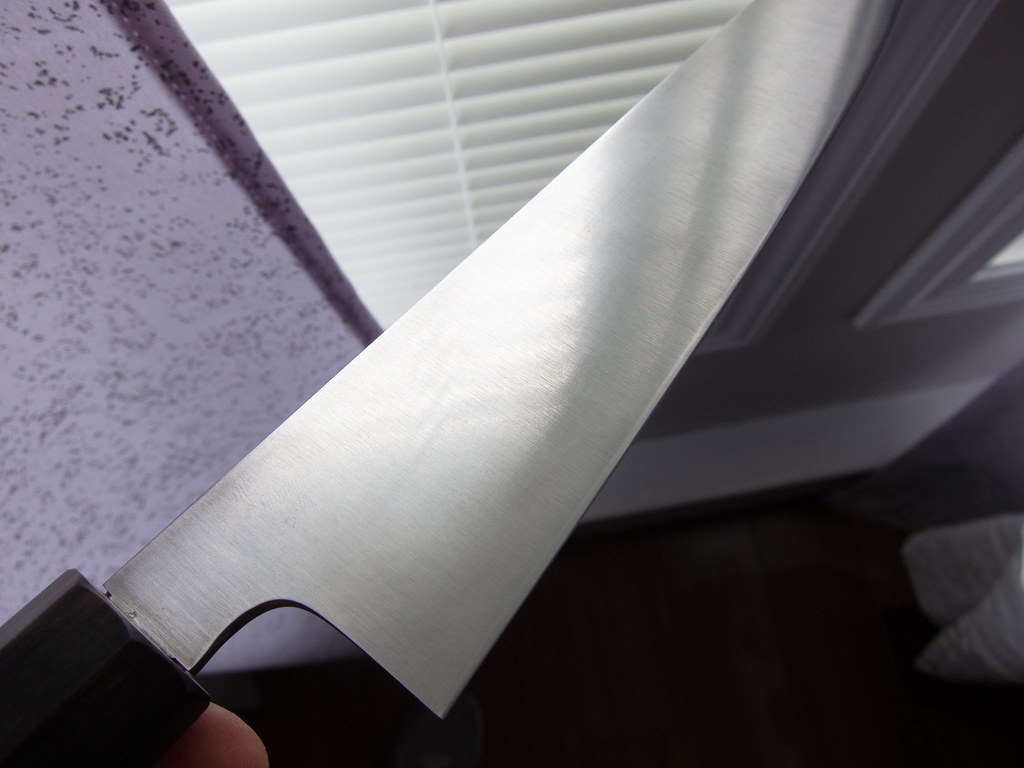
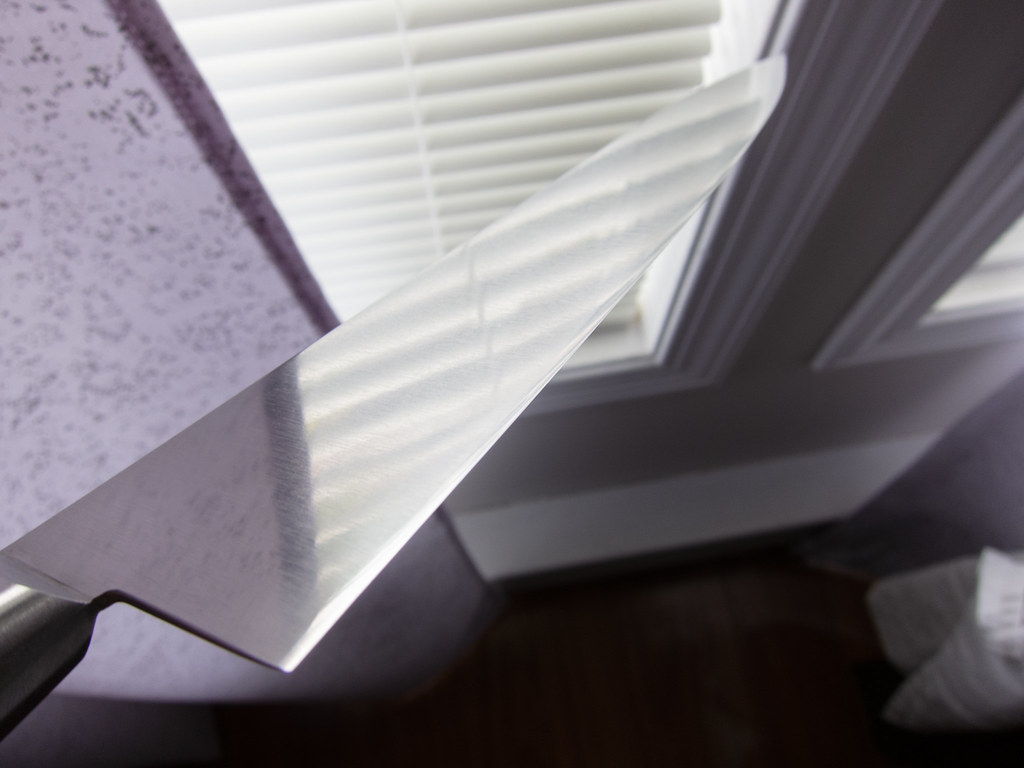
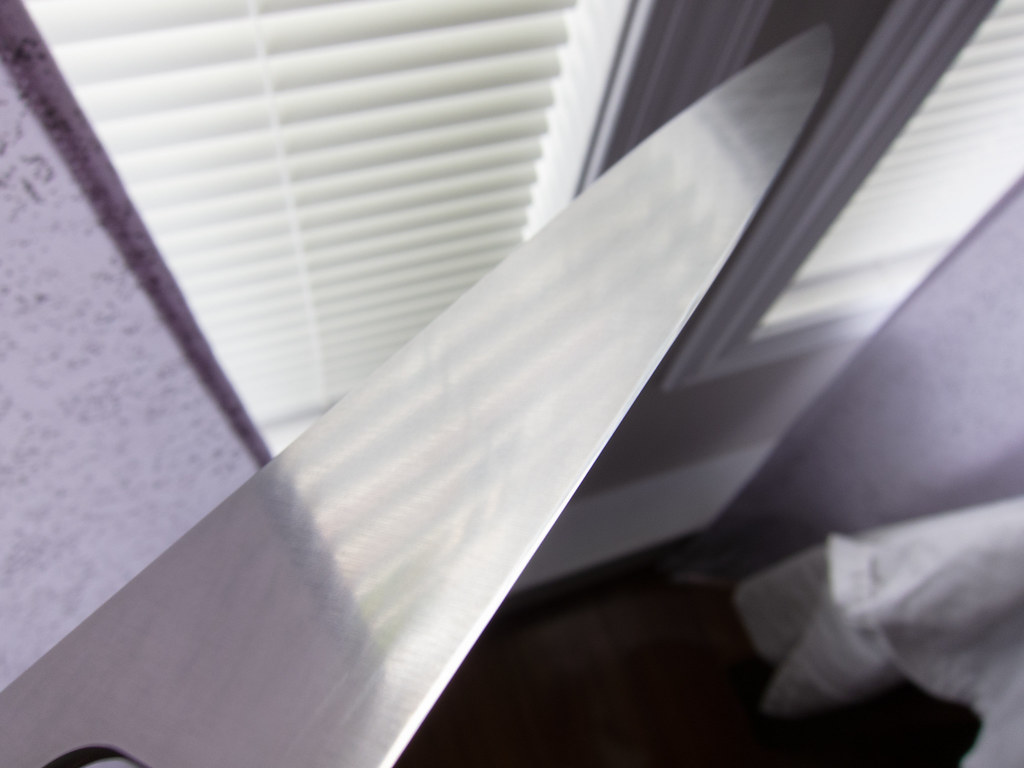
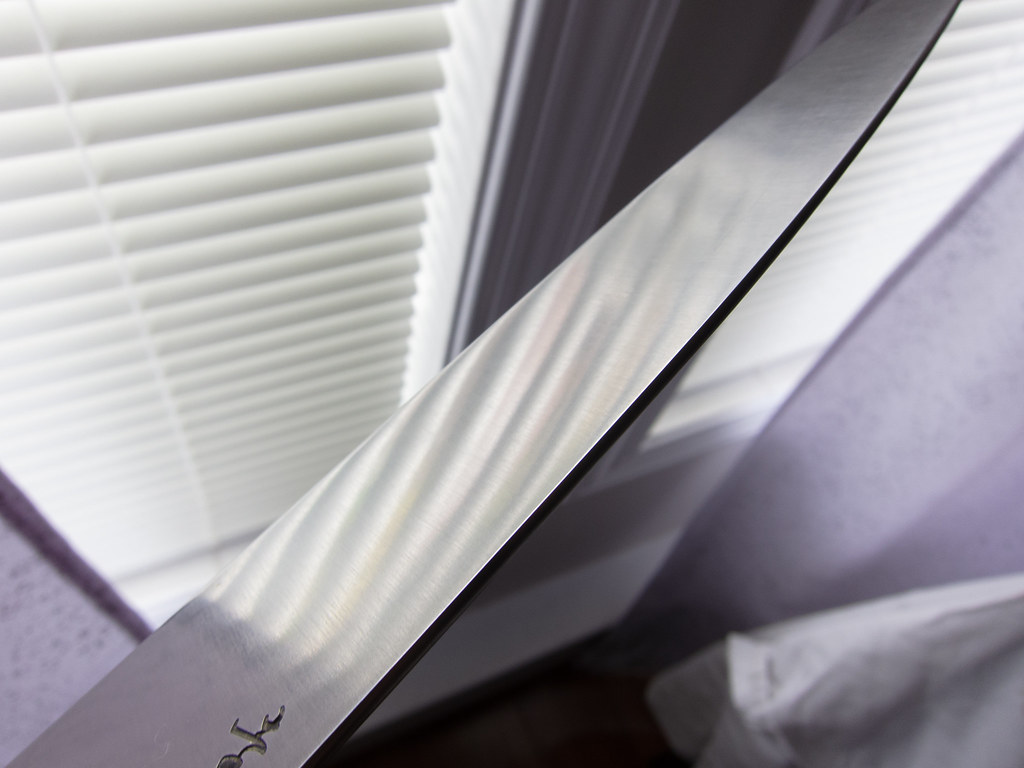
Image

After sanding:
Image

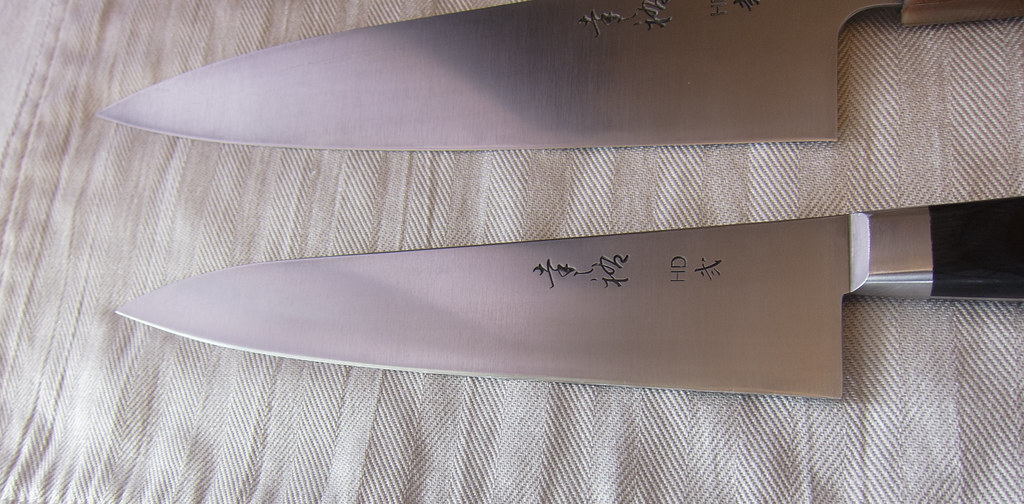
240mm is in the middle. 6-year old citrus patina is essentially gone!
Image
~J

Comments: I'm short, a home cook, prefer lighter, thinner blades, and have tried dozens of brands over the years.
slobound
Posts: 732
Joined: Mon Jan 30, 2017 2:45 pm
Location: Los Angeles, CA
Has thanked: 1 time

Re: HD Patina Removal Tip

Post by slobound »

Looks great! I may have to try this method too.
-- Garrick
salemj
Posts: 3723
Joined: Thu Jan 26, 2017 9:27 pm
Location: British Columbia, Canada
Has thanked: 213 times
Been thanked: 551 times

Re: HD Patina Removal Tip

Post by salemj »

Thanks! It seems simple and effective. In using one of the knives tonight, I did notice that going to 2000 grit did leave some hairline scratches upon closer examination. As you can see in the photo, these are not obvious, not do they really change the "factory finish," if you want to call it that. But I figured I should point it out for those concerned.
~J

Comments: I'm short, a home cook, prefer lighter, thinner blades, and have tried dozens of brands over the years.
nakneker
Posts: 2359
Joined: Thu Feb 22, 2018 8:37 am
Location: Taylor, Az
Has thanked: 185 times
Been thanked: 142 times

Re: HD Patina Removal Tip

Post by nakneker »

Thanks for sharing this. I was just wondering what to do on a knife I recently purchased that is in need of the same treatment. Nice post!
“The goal is to die with memories, not dreams.”
User avatar
Jeff B
Posts: 14757
Joined: Fri Jan 27, 2017 5:59 pm
Location: Louisville, Kentucky
Has thanked: 1987 times
Been thanked: 2352 times

Re: HD Patina Removal Tip

Post by Jeff B »

Damn, now I have several knives to refinish....

Thanks for sharing that Joe, those look fantastic! I've used Flitz a lot with good results but I'd love to get back to that "new" look on a few of mine.
If God wanted me to be a vegetarian he wouldn't have made animals taste so good.
slobound
Posts: 732
Joined: Mon Jan 30, 2017 2:45 pm
Location: Los Angeles, CA
Has thanked: 1 time

Re: HD Patina Removal Tip

Post by slobound »

salemj wrote: Thu Jun 28, 2018 9:29 pm Thanks! It seems simple and effective. In using one of the knives tonight, I did notice that going to 2000 grit did leave some hairline scratches upon closer examination. As you can see in the photo, these are not obvious, not do they really change the "factory finish," if you want to call it that. But I figured I should point it out for those concerned.
Joe, I’m assuming you did this by hand and not a belt grinder? From a past experience, when I use sand paper by hand, my scratch pattern is always curved. Is that the hairline scratches that you’re referring to?
-- Garrick
Lepus
Posts: 4561
Joined: Thu Jan 26, 2017 10:06 pm
Location: Durham, NC
Been thanked: 4 times

Re: HD Patina Removal Tip

Post by Lepus »

Those do look nice. I wouldn't be surprised if the scratches you see are the 600 grit scratches writ large and made clearer by polishing the area around them. If they really are 2000 grit scratches you could pull them off by dropping back to he 1000 grit or 600 grit paper and doing one or two very precise draws along the factory finish marks a la the Aaron Gough demo.
salemj
Posts: 3723
Joined: Thu Jan 26, 2017 9:27 pm
Location: British Columbia, Canada
Has thanked: 213 times
Been thanked: 551 times

Re: HD Patina Removal Tip

Post by salemj »

slobound wrote: Fri Jun 29, 2018 1:29 am
salemj wrote: Thu Jun 28, 2018 9:29 pm Thanks! It seems simple and effective. In using one of the knives tonight, I did notice that going to 2000 grit did leave some hairline scratches upon closer examination. As you can see in the photo, these are not obvious, not do they really change the "factory finish," if you want to call it that. But I figured I should point it out for those concerned.
Joe, I’m assuming you did this by hand and not a belt grinder? From a past experience, when I use sand paper by hand, my scratch pattern is always curved. Is that the hairline scratches that you’re referring to?
Yes, that's exactly right. One of the blades had a bit more treatment because it was the "test" blade, and I noticed at least one side of that blade had some slight curves to some of the hairline scratches that allowed them to stand out just a bit. I'll check the other blades and see if I can get pictures to highlight it. As you can see from above, unless you are worried about "resale" or something, the scratches don't really change the overall aesthetics of the knife or the original look (the vertical hairline-like finish is definitely still dominant), and I'm sure spending more than just 2 minutes a side and using some kind of paper holder or backing (or using a belt) would keep everything in top shape. For me, this was just having some fun with a little experiment on some knives that I love, hence the title of "patina removal' rather than "refinishing." Haha.
~J

Comments: I'm short, a home cook, prefer lighter, thinner blades, and have tried dozens of brands over the years.
User avatar
enjay
Posts: 474
Joined: Wed Mar 07, 2018 12:54 pm
Has thanked: 173 times
Been thanked: 148 times

Re: HD Patina Removal Tip

Post by enjay »

Bookmarked. Thanks for sharing, Joe.
slobound
Posts: 732
Joined: Mon Jan 30, 2017 2:45 pm
Location: Los Angeles, CA
Has thanked: 1 time

Re: HD Patina Removal Tip

Post by slobound »

salemj wrote: Fri Jun 29, 2018 9:07 am
slobound wrote: Fri Jun 29, 2018 1:29 am
salemj wrote: Thu Jun 28, 2018 9:29 pm Thanks! It seems simple and effective. In using one of the knives tonight, I did notice that going to 2000 grit did leave some hairline scratches upon closer examination. As you can see in the photo, these are not obvious, not do they really change the "factory finish," if you want to call it that. But I figured I should point it out for those concerned.
Joe, I’m assuming you did this by hand and not a belt grinder? From a past experience, when I use sand paper by hand, my scratch pattern is always curved. Is that the hairline scratches that you’re referring to?
Yes, that's exactly right. One of the blades had a bit more treatment because it was the "test" blade, and I noticed at least one side of that blade had some slight curves to some of the hairline scratches that allowed them to stand out just a bit. I'll check the other blades and see if I can get pictures to highlight it. As you can see from above, unless you are worried about "resale" or something, the scratches don't really change the overall aesthetics of the knife or the original look (the vertical hairline-like finish is definitely still dominant), and I'm sure spending more than just 2 minutes a side and using some kind of paper holder or backing (or using a belt) would keep everything in top shape. For me, this was just having some fun with a little experiment on some knives that I love, hence the title of "patina removal' rather than "refinishing." Haha.
Completely agreed! I figure if it’s a knife I’m using, there’s no reason to worry about making it look like a museum piece.
-- Garrick
salemj
Posts: 3723
Joined: Thu Jan 26, 2017 9:27 pm
Location: British Columbia, Canada
Has thanked: 213 times
Been thanked: 551 times

Re: HD Patina Removal Tip

Post by salemj »

Ok, gotta protect my reputation...

When I say "minor scratches" that I didn't notice at first and that the original finish is "preserved," this is what I mean. Seriously—I cannot see the scratches in these images. I think I saw them yesterday under just the right lighting, and immediately after washing a blade, so maybe it was the water that brought them out. Regardless: YES, sandpaper will scratch, but "no," I don't think 2 mins per side starting with a wet 600 paper and using only two more progressions (1k and 2k) results in a "bad" finish for regular use!

These pictures show a variety of angles, shadows, and focus on all three knives:


Image

Image

Image

Image

Image

Image
~J

Comments: I'm short, a home cook, prefer lighter, thinner blades, and have tried dozens of brands over the years.
User avatar
Jeff B
Posts: 14757
Joined: Fri Jan 27, 2017 5:59 pm
Location: Louisville, Kentucky
Has thanked: 1987 times
Been thanked: 2352 times

Re: HD Patina Removal Tip

Post by Jeff B »

Well from the pictures the finish looks excellent! Beyond acceptable by my standards thow mine might not be the highest. ;)

Very well done Joe.
If God wanted me to be a vegetarian he wouldn't have made animals taste so good.
salemj
Posts: 3723
Joined: Thu Jan 26, 2017 9:27 pm
Location: British Columbia, Canada
Has thanked: 213 times
Been thanked: 551 times

Re: HD Patina Removal Tip

Post by salemj »

Thanks, Jeff!
~J

Comments: I'm short, a home cook, prefer lighter, thinner blades, and have tried dozens of brands over the years.
User avatar
pd7077
Posts: 1045
Joined: Thu Feb 02, 2017 7:02 pm
Location: Bay Area, CA
Has thanked: 66 times
Been thanked: 106 times

Re: HD Patina Removal Tip

Post by pd7077 »

If you wanna clean up the patina while sparing the original grind marks, then try using some diamond paste or emulsion. Just apply it on one of the hard felt blocks that Mark carries.
--- Steve
salemj
Posts: 3723
Joined: Thu Jan 26, 2017 9:27 pm
Location: British Columbia, Canada
Has thanked: 213 times
Been thanked: 551 times

Re: HD Patina Removal Tip

Post by salemj »

pd7077 wrote: Fri Jun 29, 2018 12:56 pm If you wanna clean up the patina while sparing the original grind marks, then try using some diamond paste or emulsion. Just apply it on one of the hard felt blocks that Mark carries.
Thanks for the tip! All things I don't have. If I invested in some diamond paste for this purpose, what kind/grit would you suggest?
~J

Comments: I'm short, a home cook, prefer lighter, thinner blades, and have tried dozens of brands over the years.
User avatar
Jeff B
Posts: 14757
Joined: Fri Jan 27, 2017 5:59 pm
Location: Louisville, Kentucky
Has thanked: 1987 times
Been thanked: 2352 times

Re: HD Patina Removal Tip

Post by Jeff B »

pd7077 wrote: Fri Jun 29, 2018 12:56 pm If you wanna clean up the patina while sparing the original grind marks, then try using some diamond paste or emulsion. Just apply it on one of the hard felt blocks that Mark carries.
Very good tip, thanks Steve. Just happen to have that stuff here too.
If God wanted me to be a vegetarian he wouldn't have made animals taste so good.
User avatar
pd7077
Posts: 1045
Joined: Thu Feb 02, 2017 7:02 pm
Location: Bay Area, CA
Has thanked: 66 times
Been thanked: 106 times

Re: HD Patina Removal Tip

Post by pd7077 »

salemj wrote: Fri Jun 29, 2018 1:00 pm
pd7077 wrote: Fri Jun 29, 2018 12:56 pm If you wanna clean up the patina while sparing the original grind marks, then try using some diamond paste or emulsion. Just apply it on one of the hard felt blocks that Mark carries.
Thanks for the tip! All things I don't have. If I invested in some diamond paste for this purpose, what kind/grit would you suggest?
For a deeply set patina on a knife that has relatively pronounced grind marks, I usually go with a 6um emulsion. Those particles are large enough to get the job done quickly (3-5min) while still fine enough to not affect the original grind marks. If you’re cleaning up a knife with a high degree of polish, I would typically drop down to 1um.

One thing I noticed is that 6um and 3um are fine to use as pastes, but I don’t enjoy using pastes below that. They tend to feel too thick and are more difficult to work. I would suggest using a less viscout emulsion for 1um and finer. At present, all my diamond products are emulsions because I prefer to keep thing uniform. Damn OCD :lol:
--- Steve
User avatar
Kit Craft
Posts: 4844
Joined: Thu Jan 26, 2017 8:57 pm
Location: Pennsylvania
Been thanked: 11 times

Re: HD Patina Removal Tip

Post by Kit Craft »

Cool tip, thanks for sharing. My HD2 shows zero patina/staining, as an aside. I was talking with Desol about that awhile ago, his is the same. I swear it is stainless. That 210 Yo HD is wicked, btw.
salemj
Posts: 3723
Joined: Thu Jan 26, 2017 9:27 pm
Location: British Columbia, Canada
Has thanked: 213 times
Been thanked: 551 times

Re: HD Patina Removal Tip

Post by salemj »

Kit Craft wrote: Fri Jun 29, 2018 6:04 pm Cool tip, thanks for sharing. My HD2 shows zero patina/staining, as an aside. I was talking with Desol about that awhile ago, his is the same. I swear it is stainless. That 210 Yo HD is wicked, btw.
Thanks. You should check out the SS version that Lepus is selling. I really, really, really want to buy it, but I just cannot justify it at this exact moment. It is probably an extremely close approximation of what the HD offers for most applications. I waited quite some time to snatch the 210 Yo. I really like it. It is a surprisingly different knife than the Wa version in the same length.

Every HD I own absolutely showed a patina from regular use alone. I didn't notice it at first, but over time, the change in color (to a darker grey) became more and more apparent when sharpening, if I remember correctly: the bevel went from being the same tone as the knife to slowly becoming more of a contrasting silver. Other aspects of the patina were mistakes (like the BKF, or the citrus stain, which happened shortly after I bought the 240 and my best friend used it to cut a lime while fixing me a drink and then didn't wash it...how could I ever be upset at a guy fixing me a drink?!?).

Perhaps in another couple of months you'll notice the bevel-colour thingy...maybe?!? In the meantime, it is hard to imagine it is not HD steel for at least one reason: Konosuke is increasingly frugal in their stamped kanji, so it is hard for those batches ever to get mixed up! haha.
~J

Comments: I'm short, a home cook, prefer lighter, thinner blades, and have tried dozens of brands over the years.
salemj
Posts: 3723
Joined: Thu Jan 26, 2017 9:27 pm
Location: British Columbia, Canada
Has thanked: 213 times
Been thanked: 551 times

Re: HD Patina Removal Tip

Post by salemj »

pd7077 wrote: Fri Jun 29, 2018 1:25 pm
For a deeply set patina on a knife that has relatively pronounced grind marks, I usually go with a 6um emulsion. Those particles are large enough to get the job done quickly (3-5min) while still fine enough to not affect the original grind marks. If you’re cleaning up a knife with a high degree of polish, I would typically drop down to 1um.

One thing I noticed is that 6um and 3um are fine to use as pastes, but I don’t enjoy using pastes below that. They tend to feel too thick and are more difficult to work. I would suggest using a less viscout emulsion for 1um and finer. At present, all my diamond products are emulsions because I prefer to keep thing uniform. Damn OCD :lol:
Thanks, Steve. This is very helpful. I'm going to make a note of it as a potential add-on to a future order. Seems like something good to have around that will essentially last forever.
~J

Comments: I'm short, a home cook, prefer lighter, thinner blades, and have tried dozens of brands over the years.
Post Reply